Cloud Cake Recipe – Fluffy, Dreamy, and Perfectly Coconut
Coconut Cloud Cake Recipe
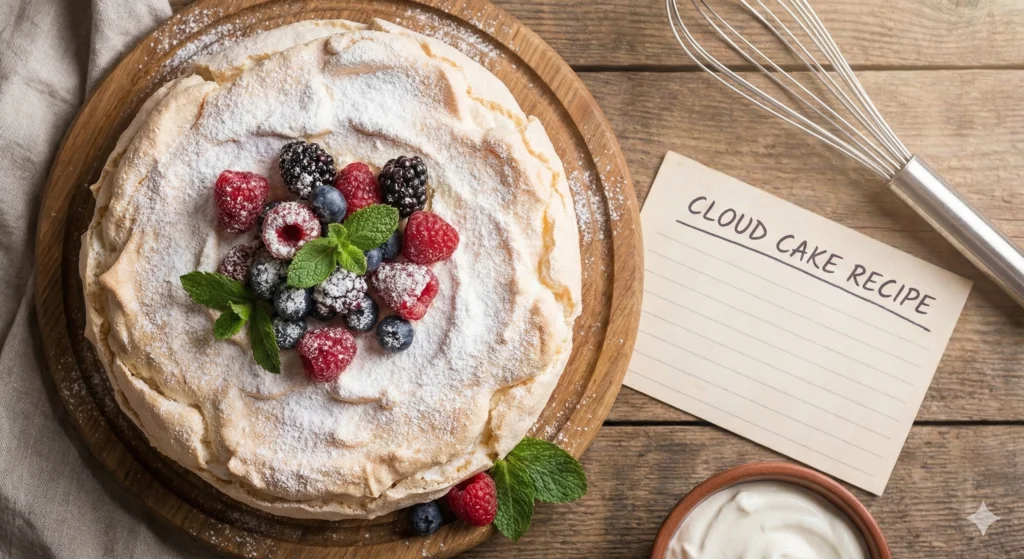
This Cloud Cake Recipe (also known as coconut cloud cake) is exactly what the name suggests — light as air, impossibly fluffy, and sweet in the most delicate way.
The secret lies in whipped egg whites, coconut milk, and a touch of vanilla, creating a texture so soft it melts on your tongue.
Layered with whipped coconut cream and topped with toasted coconut flakes, this coconut cloud cake is a slice of heaven — perfect for birthdays, brunches, and tropical daydreams.
🥥 Ingredients
🧁 For the Cake:
| Ingredient | Amount | Notes |
|---|---|---|
| Cake flour | 2 cups (240 g) | Light and silky |
| Baking powder | 2 tsp | Helps the rise |
| Salt | ¼ tsp | Balances flavor |
| Unsalted butter | ½ cup (115 g) | Softened |
| Sugar | 1 ½ cups (300 g) | Adds sweetness and structure |
| Egg whites | 4 large | Key to the cloud texture |
| Coconut milk | ¾ cup | Full-fat for richness |
| Vanilla extract | 1 ½ tsp | Adds warmth |
| Coconut extract | ½ tsp | Deepens tropical flavor |
🧁 For the Whipped Coconut Frosting:
| Ingredient | Amount | Notes |
|---|---|---|
| Heavy cream | 2 cups | Chilled |
| Coconut cream | ¾ cup | Refrigerate overnight and use the thick layer |
| Powdered sugar | ½ cup | For sweetness |
| Vanilla extract | 1 tsp | Enhances flavor |
| Shredded coconut | 1 cup | Toasted for garnish |
🔥 Instructions
Step 1: Preheat & Prep
Preheat your oven to 350°F (175°C).
Grease and line two 8-inch round pans with parchment paper.
Step 2: Make the Cake Batter
In a bowl, whisk flour, baking powder, and salt.
In another bowl, cream together butter and sugar until light and fluffy.
Add egg whites, one at a time, and beat well.
Mix in vanilla and coconut extract.
Alternate adding the flour mixture and coconut milk, mixing until smooth and airy.
Step 3: Bake
Divide the batter between the two pans.
Bake for 25–28 minutes, or until a toothpick comes out clean.
Let cool completely on a rack before frosting.
Step 4: Make the Coconut Whipped Frosting
Chill your bowl and whisk attachment.
Beat heavy cream and coconut cream together on medium-high until soft peaks form.
Add powdered sugar and vanilla; continue beating until firm peaks form.
Keep frosting chilled until you’re ready to use.
Step 5: Assemble the Cloud Cake
Place one cake layer on a serving plate.
Spread a generous layer of coconut whipped cream.
Add the second layer and frost the top and sides.
Sprinkle with toasted shredded coconut for a golden finish.
💡 Chef’s Tip: Refrigerate the cake for 1 hour before slicing for clean, bakery-style layers.
🌺 Why You’ll Love This Cloud Cake Recipe
- 🌤️ Light & fluffy texture – melts in your mouth.
- 🥥 Tropical coconut flavor – sweet but not heavy.
- 🍰 Elegant presentation – looks bakery-perfect.
- ⏱️ Ready in under an hour – surprisingly simple.
This cake is the ultimate mix of elegance and comfort — a recipe you’ll make again and again.
🍰 Variations
| Type | Add or Change | Flavor Result |
|---|---|---|
| Lemon Cloud Cake | Add zest + 2 tbsp lemon juice | Fresh and zesty |
| Strawberry Cloud Cake | Add a strawberry layer between cakes | Light & fruity |
| Chocolate Cloud Cake | Add ¼ cup cocoa powder to batter | Rich yet airy |
| Vegan Coconut Cloud Cake | Use coconut oil + aquafaba | Dairy-free version |
🌿 Serving Ideas
Serve your coconut cloud cake with:
- A drizzle of white chocolate ganache 🍫
- Fresh berries or mango slices 🥭
- Light dusting of powdered sugar ✨
- A chilled piña colada for true tropical flair 🍹
🧊 Storage Tips
- Fridge: Store covered for up to 3 days.
- Freezer: Freeze unfrosted cake layers for up to 2 months.
- Frosting: Best used fresh but can be chilled overnight.
FAQ
Can I make this cake gluten-free?
Yes — just use a 1:1 gluten-free baking flour.
Can I use coconut oil instead of butter?
Absolutely. It enhances the coconut aroma and makes it dairy-free.
How do I make my frosting extra stable?
Add 1 tbsp cornstarch or cream cheese for structure if it’s warm.
Can I make cupcakes with this recipe?
Yes! Bake at 350°F for 18–20 minutes.
What makes it a “cloud cake”?
It’s incredibly light, moist, and fluffy — thanks to whipped egg whites and cake flour!
Related Posts


Leave a Comment
Your comment will be published after it has been approved. Please send comments that do not contain slang words.